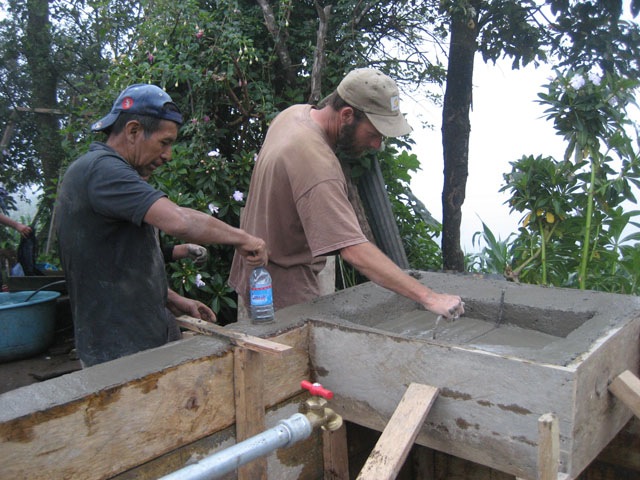
This week we started the second part of the construction for our SPA grant: water tanks. Technically, they are pilas, which is a particularly Guatemalan phenomenon. A pila is an open-top water tank with two wash basins attached to it. Like the stove, it’s one of the centerpieces of the Guatemalan household. The women gather there to wash clothes, slaughter chickens, rinse corn, get water, wash their hair, and many other daily tasks. The household pilas that you see in more urban areas are relatively small*, able to hold about 30 gallons of water in the central reservoir, and are made from precast concrete. I say “relatively”, because they weigh hundreds of pounds and I once had to help a dozen people move one. Now I know why so many Guatemalans need hernia surgery.
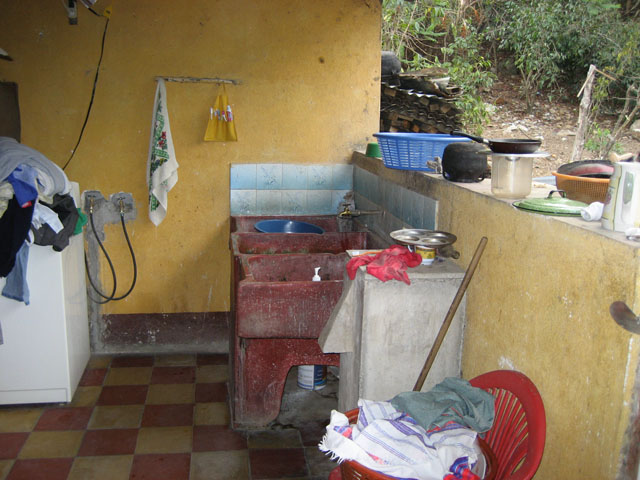

In some rural communities, however, the traditional pila is a much larger affair. Unlike in the city, where the water might be shut off for 6 hours every night, the pilas around here have to hold enough water to get you through a few months of dry season. They still have the two washbasins, but are built on-site and are about two meters square, holding around 3,000 liters of water.
Being very poor, most of the villagers do without and get by during the dry season by making the women haul jugs of water from the river a quarter mile away. Besides the obvious social implications, this has a lot of negative health effects as well: less water for cleaning, clothes washing, and toothbrushing; less time for the mothers to spend properly maintaining the household; and less education (health related and otherwise) for females who are hauling water instead of sitting in school.
When we were deciding what projects the community wanted, tanks was the most requested. At first I was hesitant to do them, since I don’t have a lot of experience with them, but after I looked at a few, did some design calcs, and estimated materials**, I figured it would be possible make them… but they would be the most expensive of the projects. That scared away some folks, but we still have 8 families that want one. In one case, a family joined the “tank group” late, and I was standing in their front yard with the village leaders when they got the news that they would receive a tank. The father nodded, looking pleased, but his pre-teen son started jumping up and down, waving his arms, singing “We’re getting a tank! We’re getting a tank!” There are no sisters in his family, so guess who gets to haul the water…
After a few painful 12-hour days of work, we have the process streamlined. Again, for your enjoyment, I present How to Build a Pila.
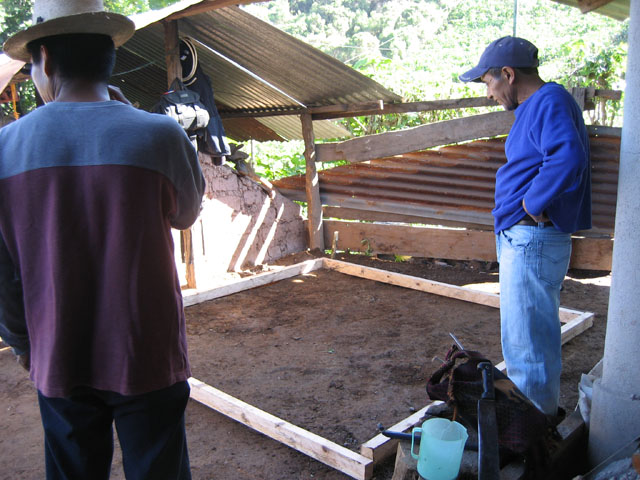
Day 1: The Base
Expect to work about 8 hours using four people, depending on your crew. Mayans are hard workers, don’t complain, and toil tirelessly… but do it at their own pace. That includes the celebratory chicken stew luncheon, as well as the mandatory breaks for corn gruel that always seems to occur just as you add water to the concrete mix. If you had four Peace Corps volunteers doing it, you could probably get it done in 4 hours. But then, the locals wouldn’t be learning to do it themselves, making the whole exercise pretty pointless.
 |
 |
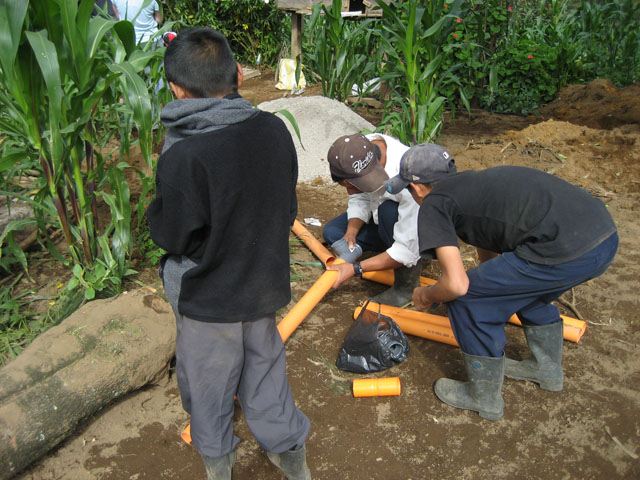 |
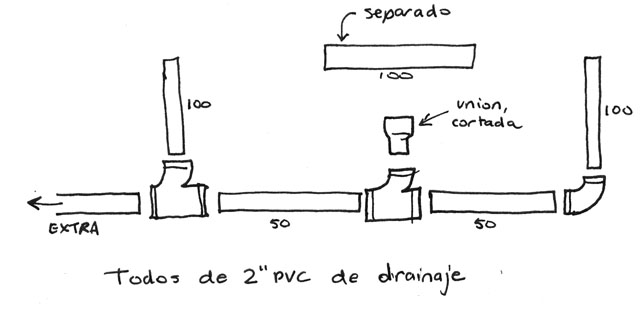
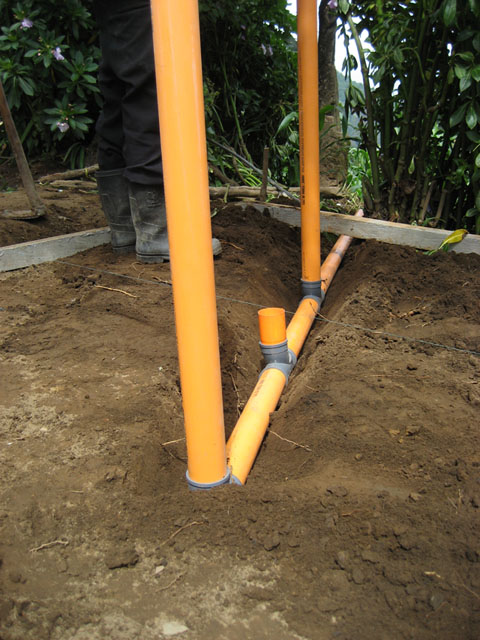
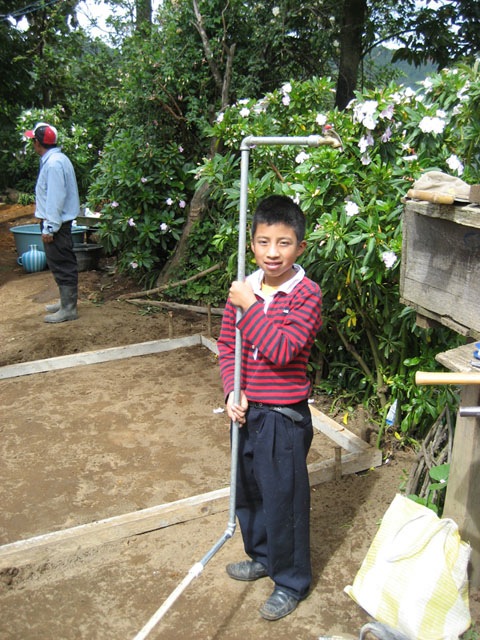
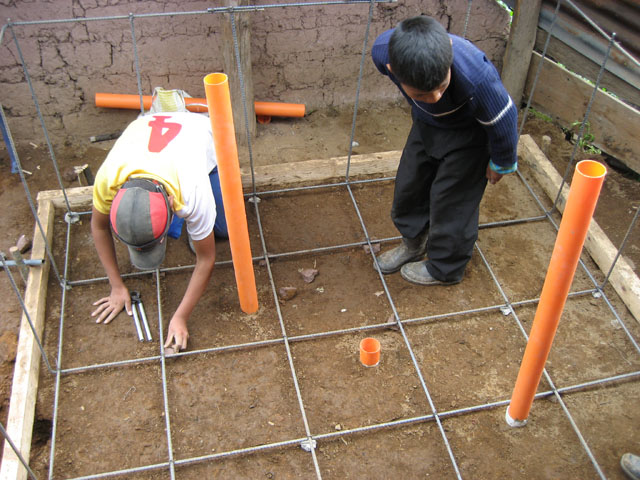
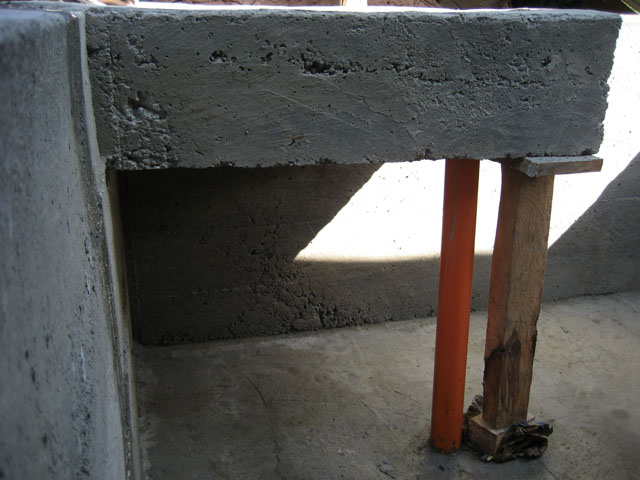
| Level the ground, and lay out your 2×4 formwork. Check for level and square. | Assemble the PVC drainage tubes. I ended up making a sketch so I didn’t have to reinvent the wheel each time. Then I got smart, and started giving the sketch to the brightest looking teenager present so I could do something else. | There is a drain off of each washbasin, as well as a drain in the bottom of the tank for cleaning. The cleanout drain has another section of PVC tube in it that is NOT glued, that acts as the (removable) plug. It’s left open at the top and will later be cut off just below the high water mark of the tank, to serve as an overflow drain. |
 |
 |
 |
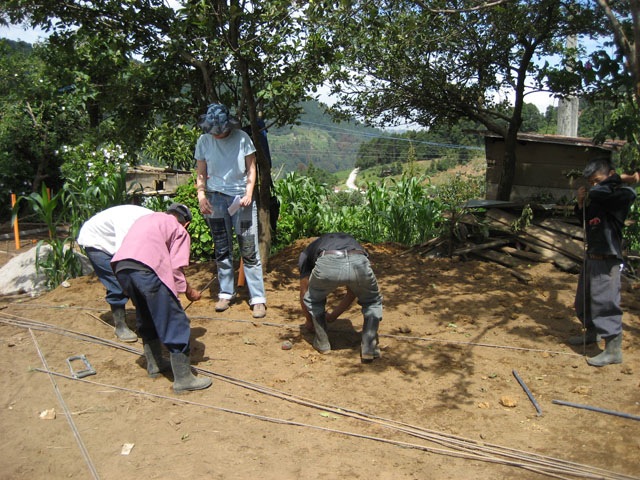
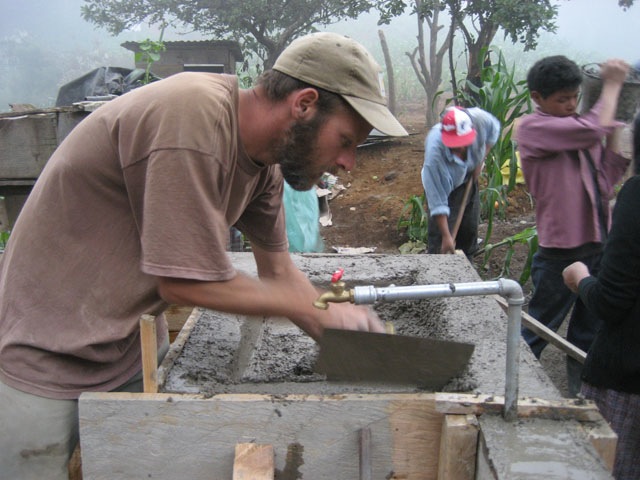
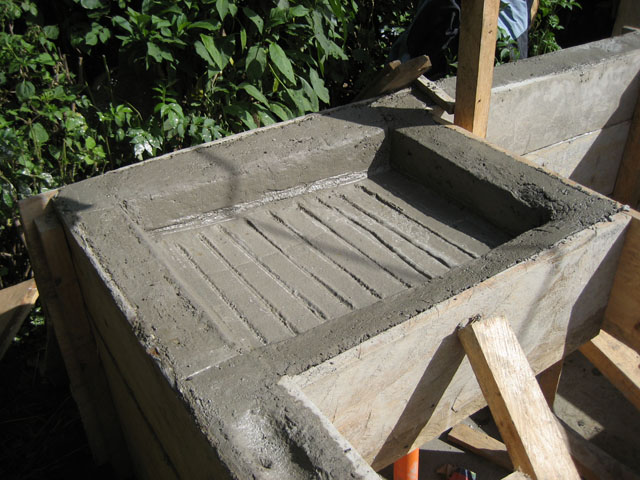
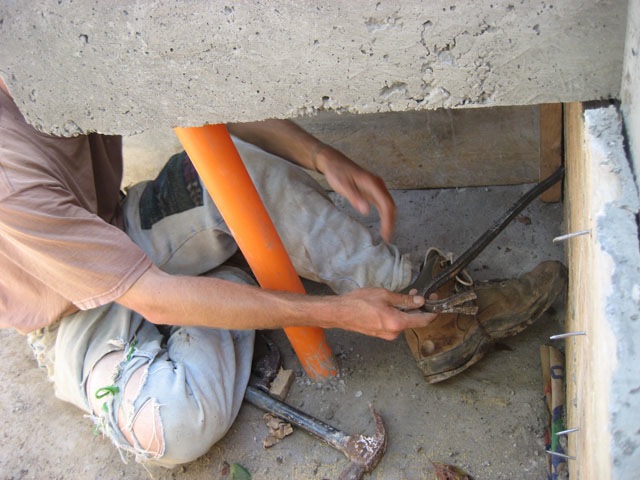
| Decide where the basins are going to go. They can go in any corner; each tank is designed for two. The housewives get really excited about this part, since they don’t get a lot of choices in life. One lady was so grateful, she insisted I allow her to wash the concrete out of my shirt after we were done for the day. | Cut the trench for the plumbing, deep enough so that the cleanout drain will be 1/2″ inch below the level of the formwork. Slope the tubes slightly so they drain away from the tank. Hopefully some day, there will be a sump or (heaven forbid) a sewer to connect this all to, but for now, point the free end towards the cornfield. Bury, and pack down the dirt. | Assemble the galvanized steel water supply plumbing. It can come up anywhere in the wall of the tank that there isn’t a washbasin. If there is a water line, connect it. If not, cap the bottom of the plumbing so it can be connected some day in the future. |
 |
 |
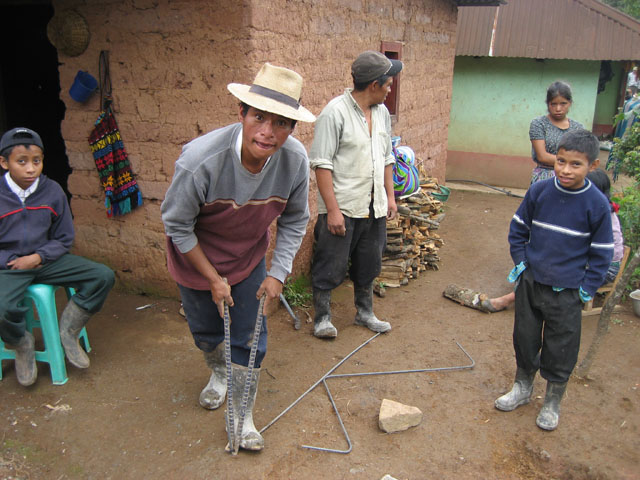 |
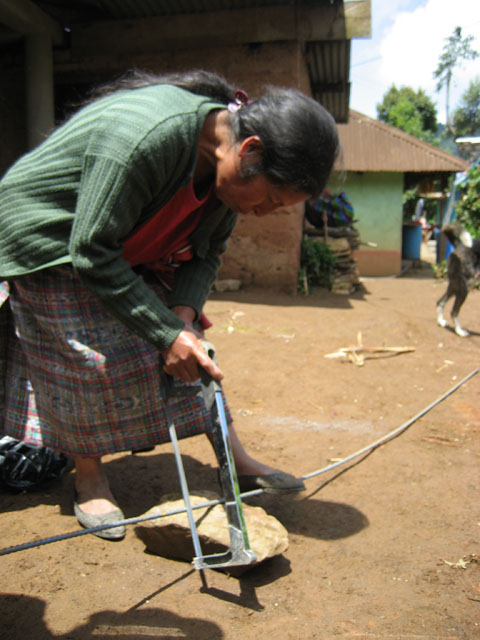
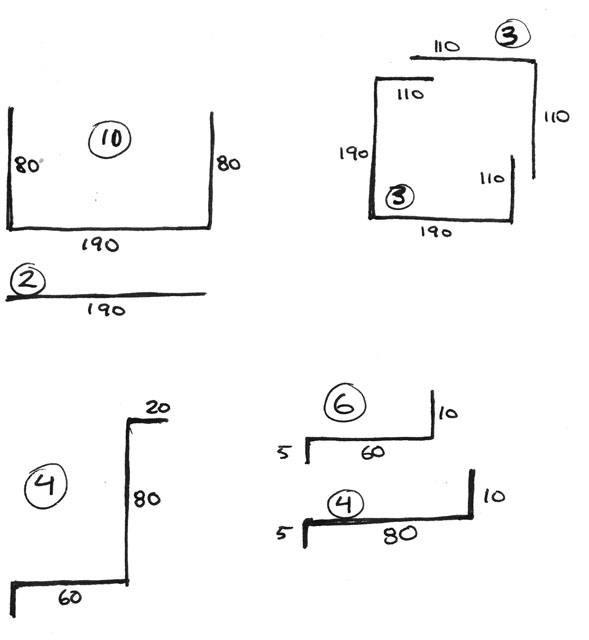
| Cut all the rebar you need for the tank. Every now and then, the women get excited and participate too. Yay! | I made this sketch to help them understand how to fabricate the individual pieces of the rebar puzzle. Circled numbers are how many of each; other numbers are length (in centimeters). | Bend the rebar into the shapes shown in the sketch. For this, we use a tool call grifas to get tight, exact bends where we want them. It’s really fun, and I am going to makes concrete stuff when I get back to the US just so I can use grifas more. |
 |
 |
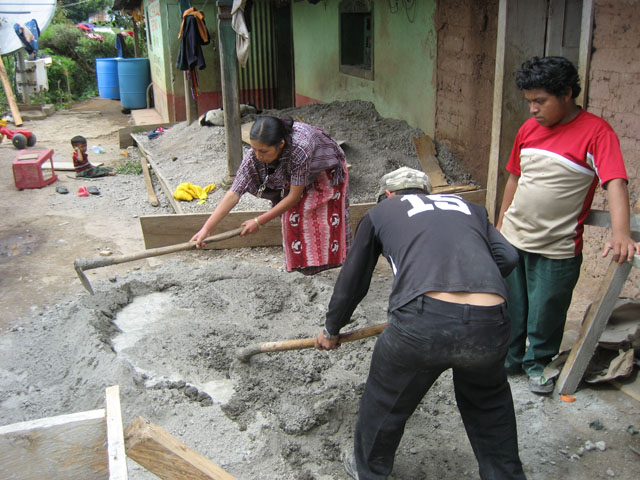 |
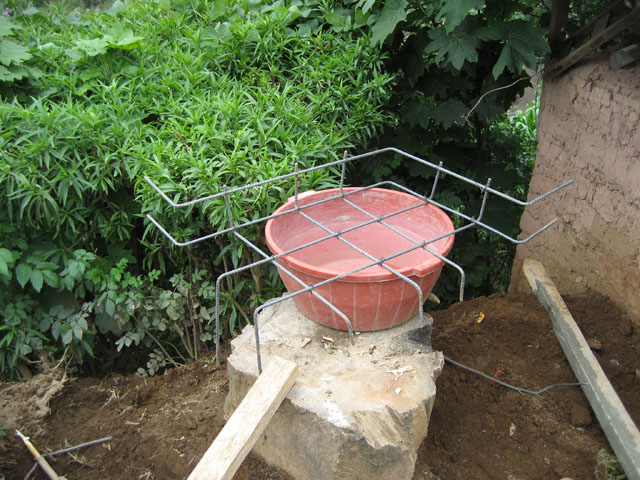
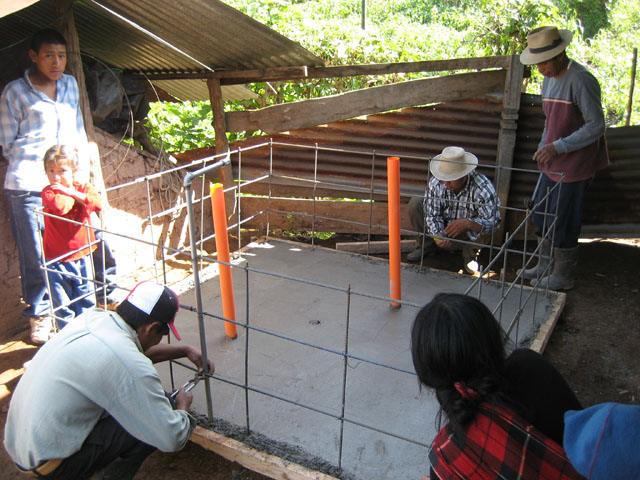
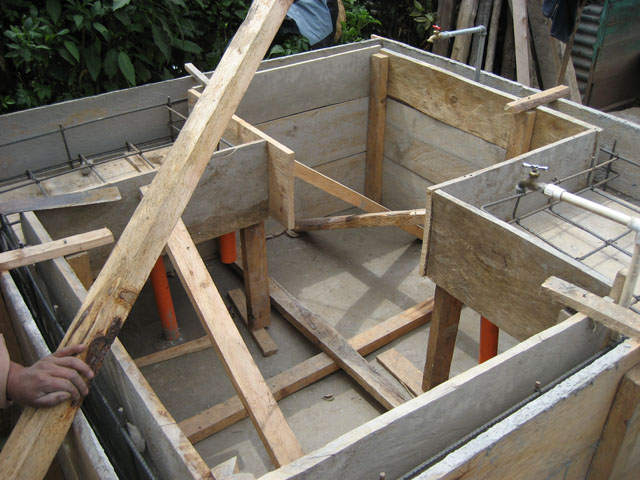
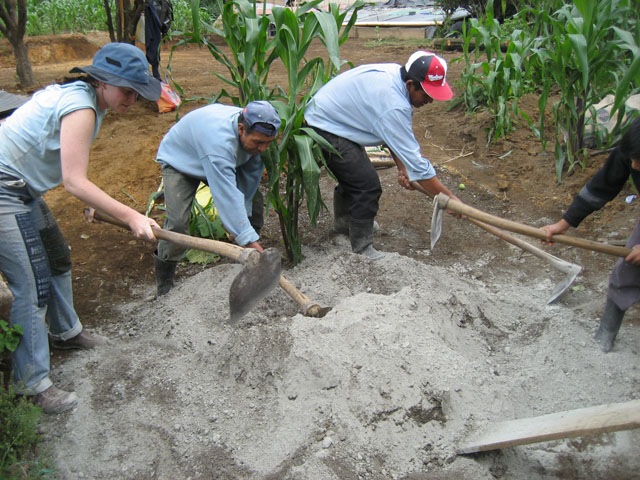
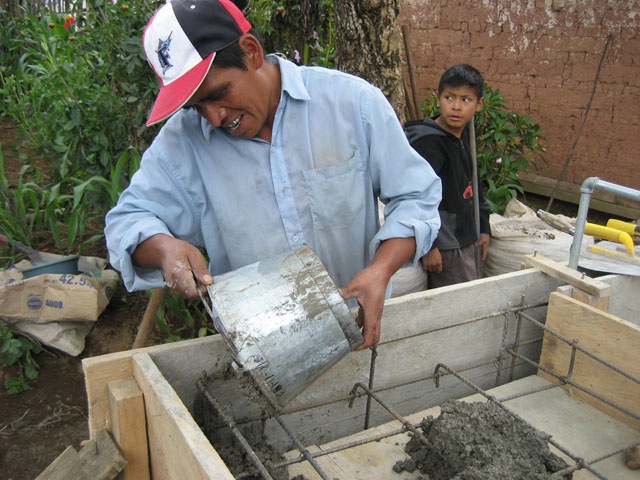
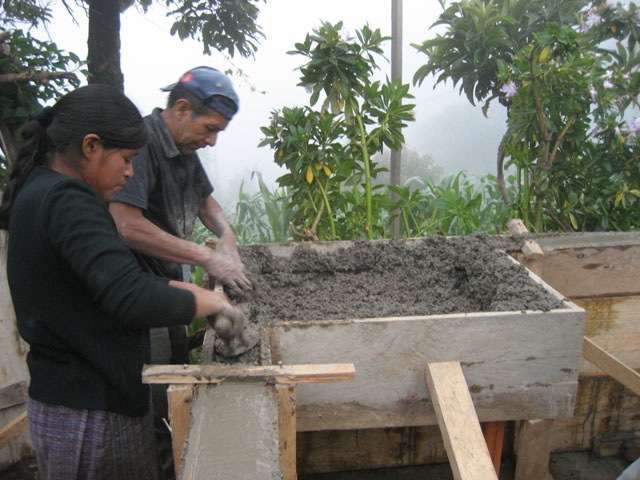
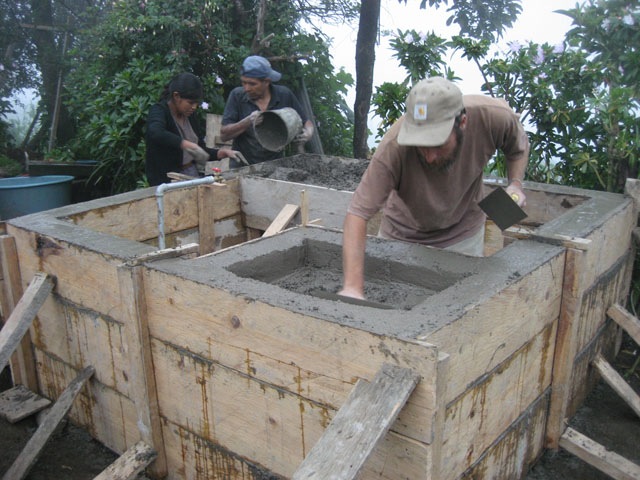
| Once the pieces are made, assemble the rebar cage. I don’t put all the horizontal wall reinforcing on until the second day, so we can reach into the tank to work with the concrete. | Tie the rebar together with wire at every intersection, and place rocks beneath the rebar to ensure that it’s entirely encased in concrete when we pour. Check that there is 5cm clear between the steel and the wooden formwork, to ensure adequate concrete coverage. Attach the uppermost of the horizontal rebar bands to the verticals, to hold them in place. | Mix up the concrete, just like for the floors. This first day, for a 2-meter-square base, we need 6 wheelbarrows of mixed gravel and 3 sacks of cement. |
 |
 |
 |
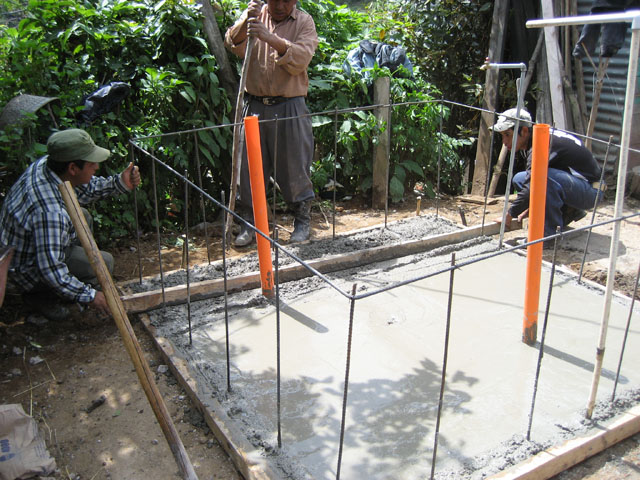
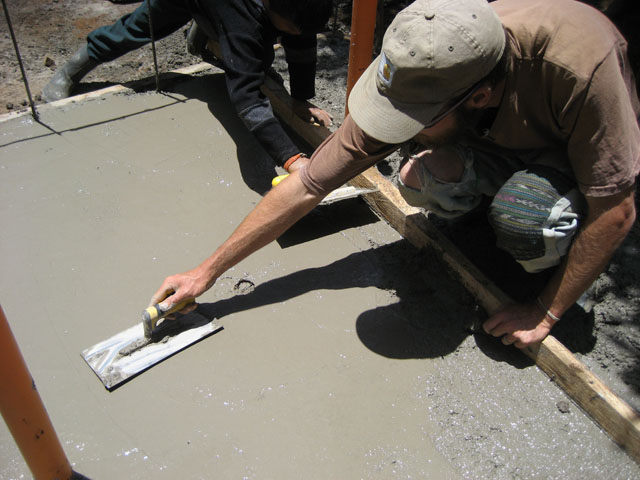
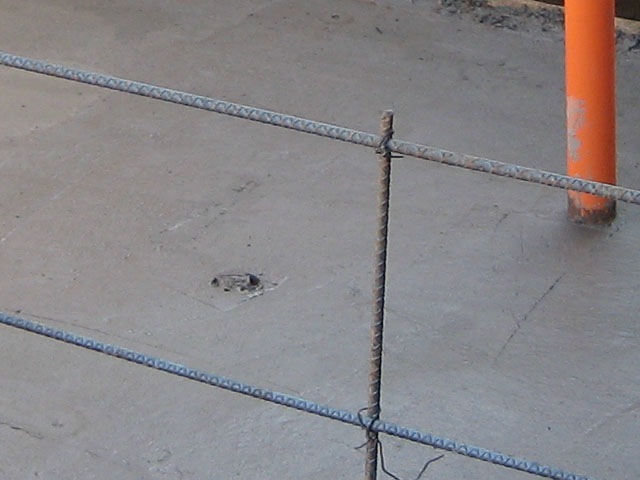
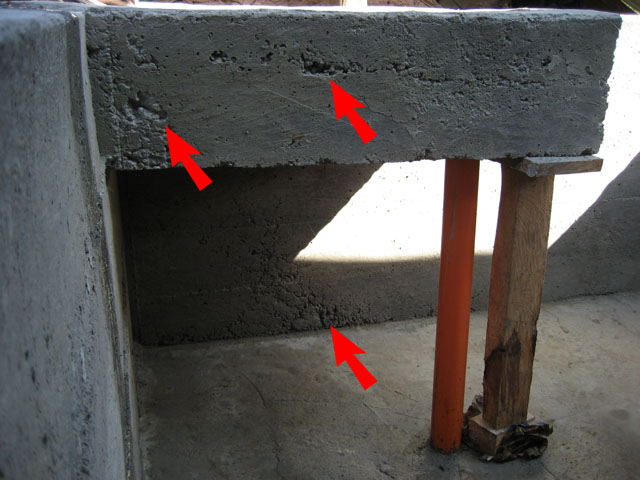
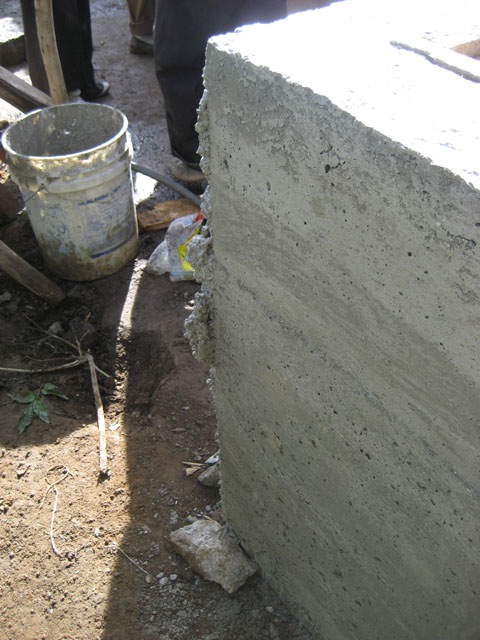
| Pour the concrete in place and level it with a 2×4 screed, working in from the sides of the tank (this is why we don’t tie on all of the horizontal reinforcing until tomorrow). Taking the overflow tube out makes this easier, but be sure to stuff it with paper so it doesn’t fill with concrete. |
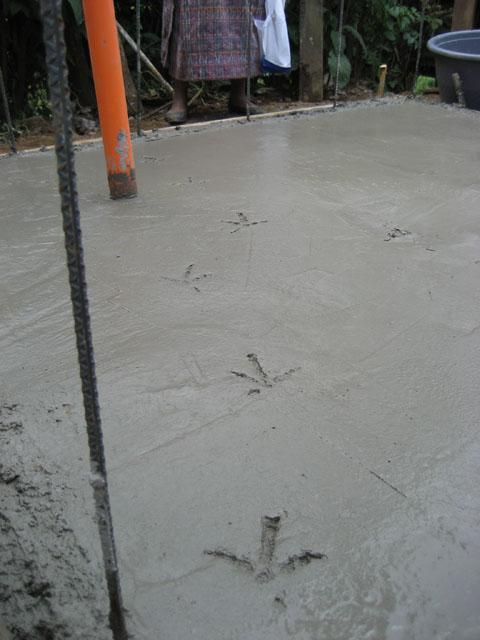
Taper the concrete in the center towards the drain, then trowel it all smooth. | Leave the concrete to set for 24 hours. It’s a good idea to put barricades around it: not so much for the kids, but the animals. We shooed a curious dog away from the first tank, but weren’t fast enough on the second one and a big ol’ rooster strolled across the wet concrete. |
 |
 |
|
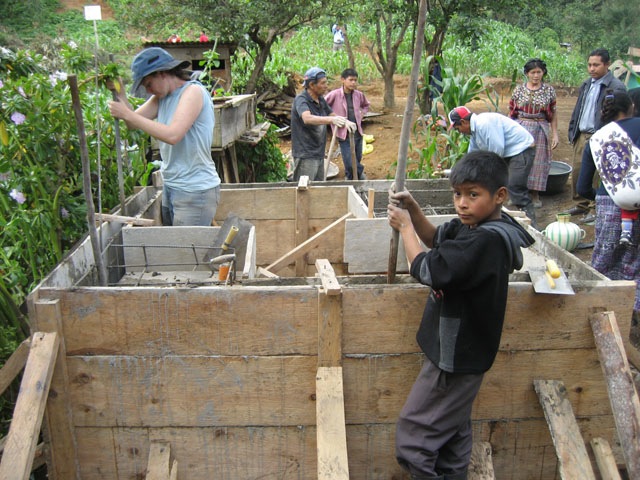
| Tie together the reinforcing cage for the washbasins. We will attach them tomorrow, because if we do it today and drop one, it will make a big mess of the wet concrete. | Here is a happy housewife doing laundry as we work on her new tank in the background. I bet the smile is because this is the last time she’ll have to do laundry this way. |
 Interestingly, the time it takes to do this phase of the work is cut in half if Emily is present. She missed the first few days of work due to illness, but when she showed up for the third tank, she was all business. I am not always good about keeping others busy, but when she sees people leaning on their shovels, she’s all over them. It’s pretty funny watching her go to work on those poor guys… they really don’t know what to make of it. None of them have ever been told what to do by a woman before, and they are so taken aback they just get busy, with confused looks on their faces. Sometimes she just picks up a hoe and starts working herself, and that gets them moving even faster… within seconds, someone relieves her of duty and hops to it. I can’t decide if they hate to see a women doing a man’s job, or they feel guilty that a woman is outworking them. Being a man and somewhat oblivious, I didn’t notice the phenomenon until she pointed it out to me. “Hey Jaime, watch this”, she said in English as she picked up a trowel and started smoothing concrete. Within seconds, someone came over and tactfully offered to “help” her.
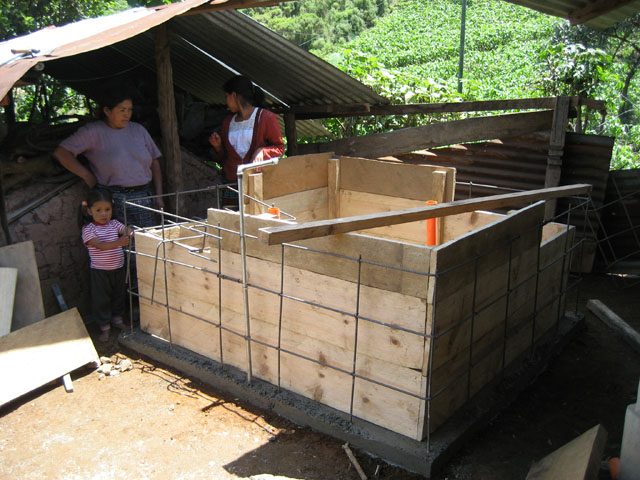
Day 2: The Walls
Expect to work about 10 hours, depending on your crew. We actually worked 13 hours on the first tank, because we had to also build the wooden formwork to support the wet concrete. Subsequent tanks went a lot faster, even with the added step of removing the formwork from the previous tank.
Day 4: More Walls
Wait, where did Day 3 go? Well, we started over, and it was Day 1 all over again… we have eight tanks to do, remember? But the second day of every tank after the first begins with a few extra steps, like this:

There you go. I’m pretty proud of these pilas, not just because they will be so helpful to the community, but because they look great and are built to last. Everyone keeps saying how they are a “memento of Jaime” as we work, and I have to keep correcting them, saying they’re “a memento of how the community worked together.” One thing’s for sure; these 4500 pound chunks of concrete are going to be getting use long after I’m dead.
*In older communities, there is sometimes a central town pila with dozens of wash stations. They can be quite artistic, and harken to a more romantic era when women congregated to work and socialize in a semiritualistic way.
**I forgot to add in the cost of the wood to make the reusable formwork, which ended up being nearly as expensive as another tank. Belkar, an old friend and regular commenter on the blog, came to the rescue. His donated funds for the formwork not only saved my ass, but also helped about 50 people have access to water year-round.