The majority of the projects we’re building for our SPA grant are stoves. They’re an important key to improving health; the World Health Organization says that more than half of human beings cook over a fire, and the majority of them live in smoke-filled environments with a poor or nonexistant chimney. Medical studies sponsored by the W.H.O. show that a housewife cooking in such conditions is doing the same damage to her lungs as smoking two packs of cigarettes a day. That’s sad, but not as sad as the life of the baby tied to her back that’s getting the same thing.
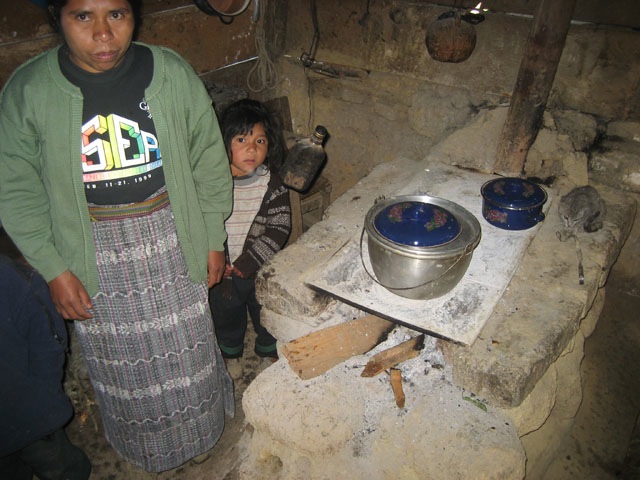 As important as these stoves are, we were at first hesitant to do them here. In our villages, most of the families already have some sort of rudimentary stove, and other project types (floors!) are hardly in use. But a LOT of people wanted the stoves, so we surveyed their houses too. That’s when we started to realize that this was still a good project: nearly all of the stoves were substandard, with broken chimneys, no doors, and cracked tops. The majority were handmade from xan (adobe), crumbling and leaking smoke into the house. Those stoves are better than nothing, but still a health hazard worth replacing.
This presented us with a quandry. The specifics of the grant, as well as good development practice, prevent us from building a second stove in a house. It’s wasteful of resources, unethical, but happens here sometimes… and everyone has an excuse. “Fijese que, this stove belongs to my father-in-law. I want my own.” Stuff like that. Emily has been a real hardass, and told several people that there are NO EXCEPTIONS, and the old adobe stoves had to be removed before we put anything new in. This even caused a few people to drop the project. So imagine the conflict when last week Diego asked us what the families are supposed to do for food during the two weeks it takes the new stoves to dry. In a perfect world, we’d be building for families that were currently cooking over open fires, and adding two more weeks of smoke inhalation while the new stove dries isn’t going to do much extra harm. In the end, it was Emily that came up with the solution: they can keep using their adobe stove while the new one dries, but we won’t give them the magic final part (the plancha, or stovetop) of the new stove until we return and see that the adobe stove is really gone. Then, we just drop the plancha into the steel frame that is cemented into the stove. It’s sad, but we have to use a “trust but verify” system; if we just assume people will do what they say, some will not- either out of laziness, or seizing the opportiunity to have their two stoves after all.
In two of the 15 houses, we’re just going to do “upgrades.” The owner already has a reasonably nice stove, but it doesn’t have a door and the plancha is old and warped. A new plancha will not let the smoke out, and the door is AWESOME TECHNOLOGY. Besides holding in some of the heat to increase efficiency, it has a little vent on the front that can be adjusted: wide open, for maximum heat and starting the fire, or partially open, for better efficiency and lower heat for making tortillas, or closed at the end of the day to kill the fire by oxygen starvation. This makes some nice charcoal in the stove to start the next day, instead of a bunch of useless ashes. Everytime we explain how to use the door, the women are besides themselves with excitement at this amazing new idea.
So, now that you know the What and Why, here is the How…for your reading pleasure.
Day 1: The Base
To get 15 stoves built in two days, we had to break into teams. The actual “working time” per stove isn’t much- two hours to build the base, wait about a week for the concrete to cure, then two or three more hours to build the top. But to make the schedule, we are doing two bases per day, for two days, in four separate groups. Then, the following week, we’re doing it again for the tops (with work on more tanks in between. No rest of for the wicked).
 |
 |
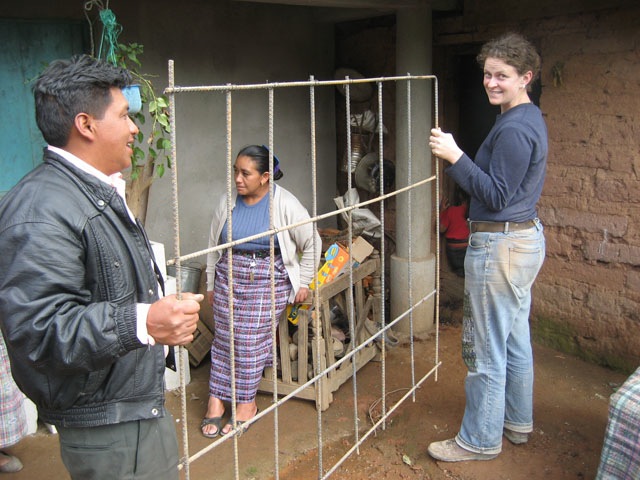 |
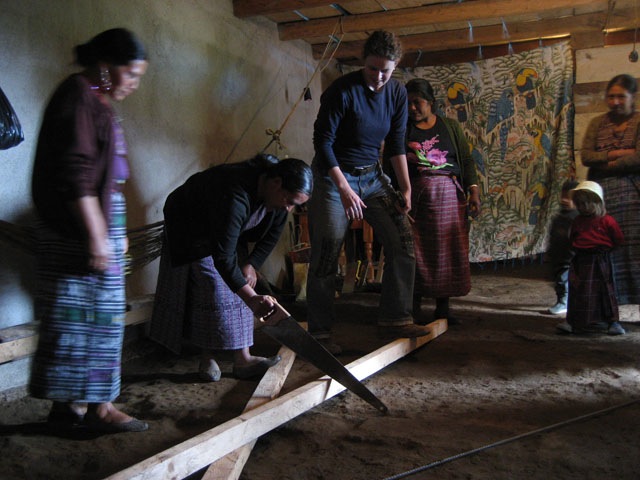
| Cut the 2×4 formwork and nail it together. These women are having a blast, using “men’s tools” for the first time ever, under the watchful tutelage of Emily. | Level the ground, and lay out your 2×4 formwork with some nylon underneath it. Check for level and square, then stake it down. This needs to happen in the same room as you’re going to build the stove (more on that later). | While this is going on, have some other workers cut the reinforcing steel and wire it together into a grill. Bring it in and put it in the formwork. |
 |
 |
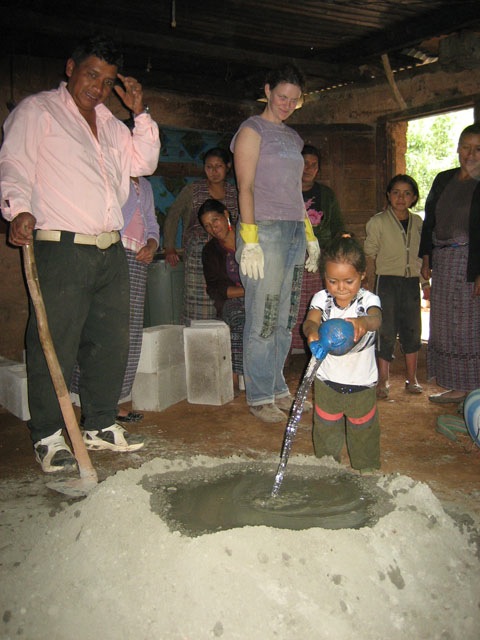 |
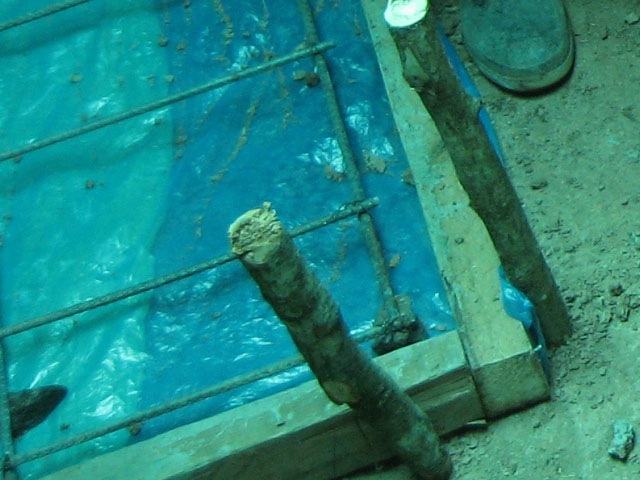
| If things are confusing, you should take notes. If you don’t have paper, improvise. | Place rocks under the steel, so it will be in the center of the slab. We will be lifting the slab into place next week, and if the steel is NOT in the center, the slab might explode. Avoid this Epic Fail. | Mix up about 4 wheelbarrows of concrete. By now, you should be very good at it. Here we see Brenda helping out with the water. |
 |
 |
 |
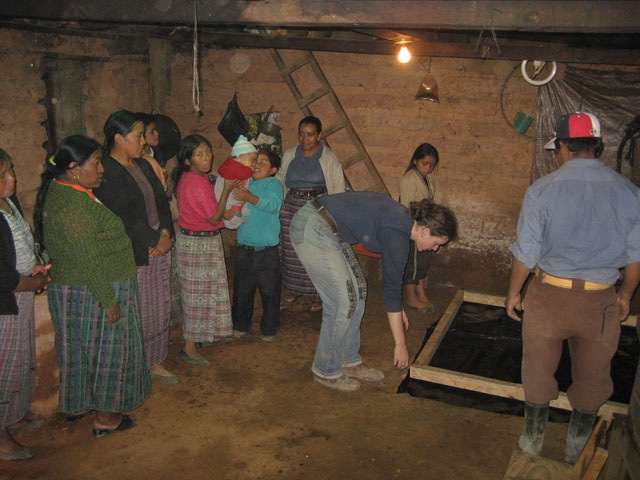
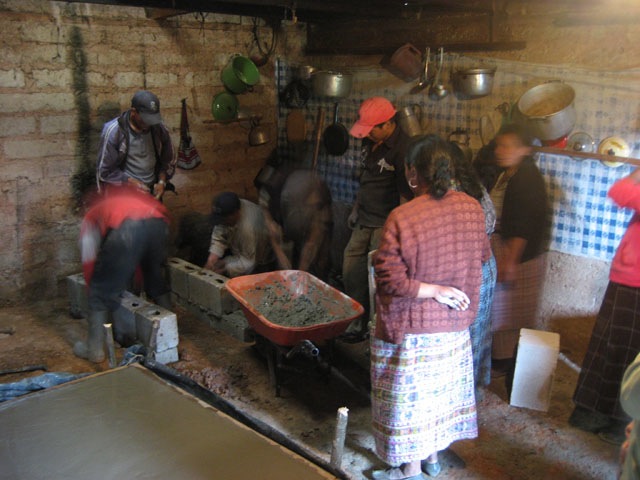
| Shovel the concrete into the forms. This is going to be the “table” of the stove, and I estimate it will weight about 600 pounds. We have to pick this up next week, hence building it in the room where we’re going to install it. | Trowel the slab smooth, and leave to dry. Protect it from animals. You’d think that being indoors, it would be safe from the chicken footprints we had on other projects. Not the case! I’ve already had to fix some. | Fill the cores of six blocks with cement. Set them aside to dry; we’re going to use them in Day 2. For what? You’ll have to read that post to find out. |
 |
 |
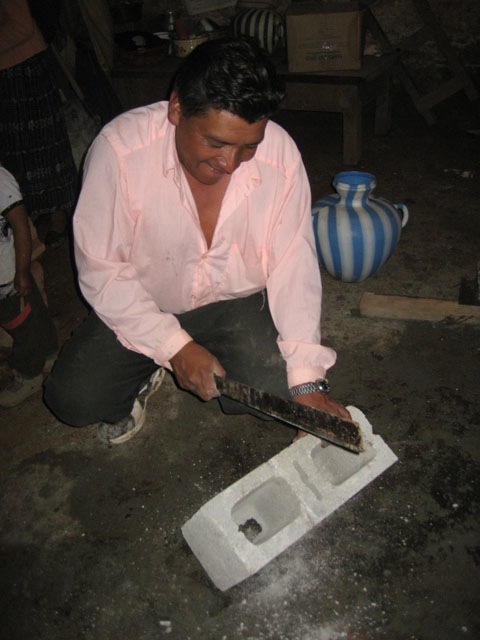 |
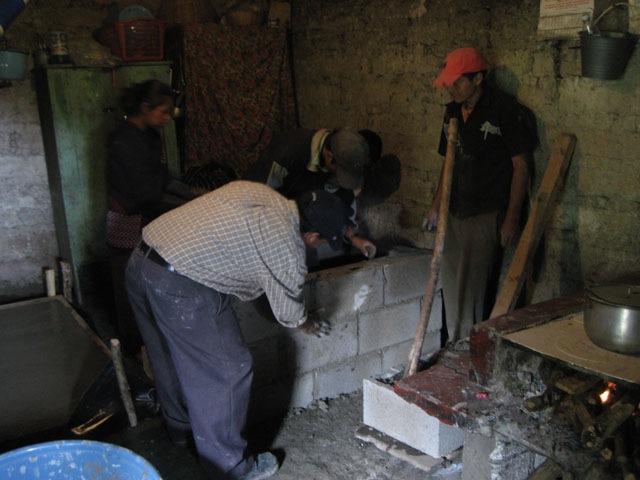
| Cut trenches where the concrete block base of the stove will go. Make them about 4 inches deep, if you want a low stove or your soil is soft. Throw some concrete in the trench, to give you a level base for the first course of block. | Start laying up the block. It’s funny; I’m not a mason, but I took a two-hour class on blocklaying one weekend in architecture school, and amazingly, I found the things I learned 18 years ago to be exceptionally useful here. Blocklaying is not rocket science, but is definitely a “skilled trade,” with lots of tricks to make it easier and improve quality. | You will have to cut two blocks to get it to all work out. No one here has a masonry saw, so they do it with… a machete! What Guatemalan construction project would be complete without THAT? Incidentally, chipping block is prohibited in the specifications of most architects I’ve worked for. |
Well done. Clean up your tools, drink your mosh, and get on to the next house. We still have a lot of work to do.
Day 2 is coming soon….