We just spent two days visiting our friend Charlotte. We like to visit her, but this time it was for business. You see, Charlotte’s program is Municipal Development, which means she’s really good at things like creating women’s groups, organizing people for political action, and working to enhance services provided by local governments. She’s not very construction oriented, though, so when she got a grant to build latrines in a rural village in her municipality, she called us for help.
 There are two basic types of latrines in use here: letrinas aboneras, or composting latrines; and pozos ciegos, or sanitary pit latrines. The composting latrines are generally better: they last indefinitely, protect groundwater, and you get some fertilizer out of them every year as a bonus- though they are a bit more expensive. The pit latrines aren’t quite as nice, but are WAY better than nothing and they seal the pit so that flies and rodents can’t spread diseases. On the down side, they fill up every five years or so and have to be moved, and can contaminate groundwater if the geologic coditions are wrong. Unfortunately, they are the local favorite in many areas because of their low cost, ease of maintenance, and most importantly, the people are just accustomed to them. After talking with the village, Charlotte found that they really wanted the sanitary pit, despite the good reasons to go with composting… and as we see time and time again, if you give someone something they don’t want, they abandon it. We went with the traditional.
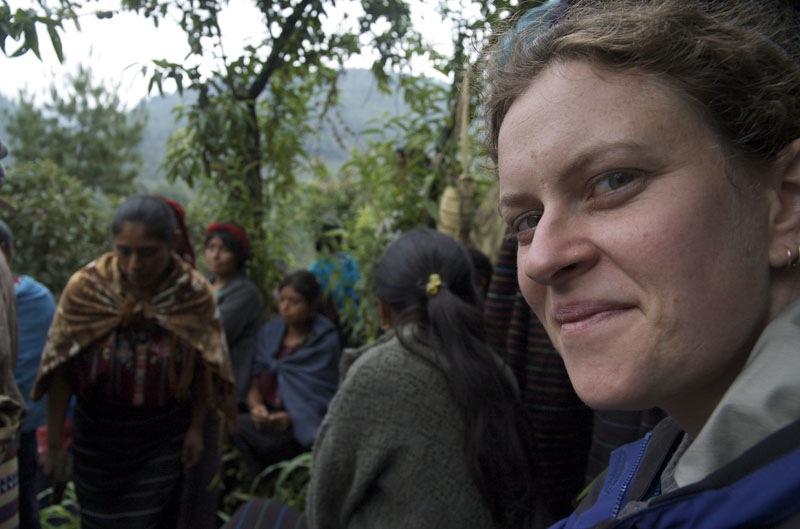
Her town has many Ladino (spanish-speaking) city dwellers, but most of their outlying villages are rural Mayan. Unlike the Q’anjob’al we live and work with, these are from the Mam ethnic group. Their dress is a little different, and their language is VERY different. It’s strange to be surrounded by Mayans jabbering away and not understand a word of it. Some things were the same, though: their friendliness, the communal way they work together, the kids smiling and giggling, and the babies screaming in terror at the sight of white people.
We piled into the back of a pickup at 6am to travel with the teachers headed up the mountain to the village. It was a beautiful, half-hour climb up a steep 4×4 trail to a verdant vallley near the top of the mountains. When we arrived, the villagers were waiting in the schoolyard; only one truck a day comes up there, and they’d heard it long before we arrived.
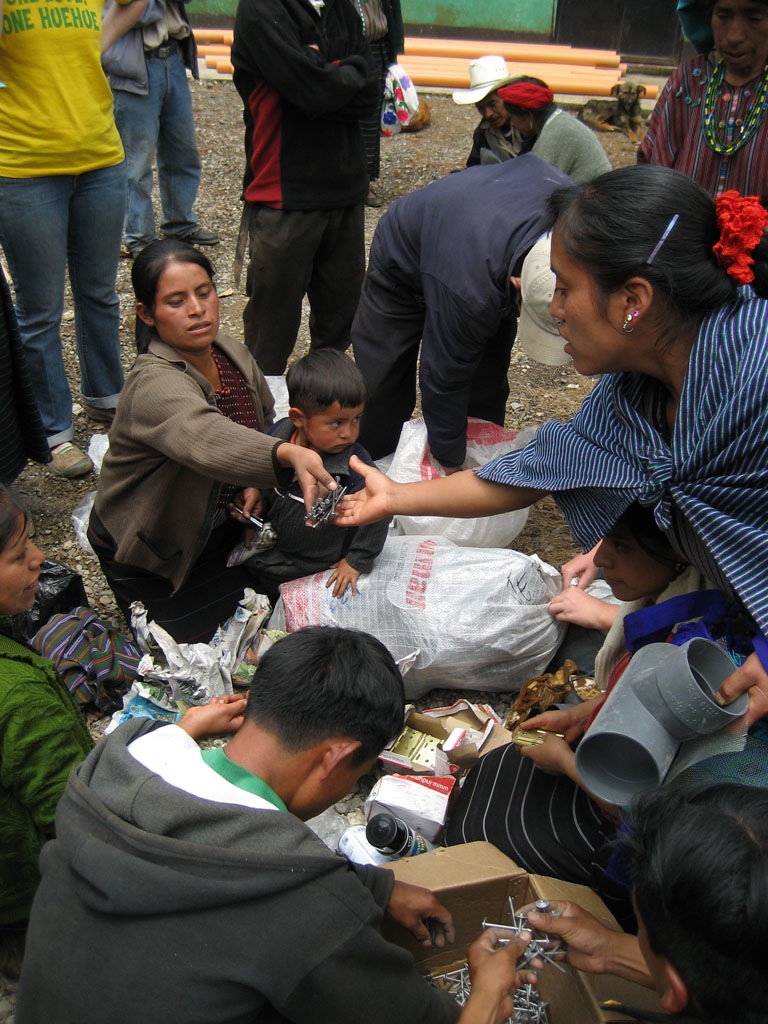
Charlotte had done her homework, and most of the materials we’d planned out had already arrived: precut wood, sheets of corrugated steel, PVC tubing. Over the course of the next few days, we divided up all the materials amongst the 41 participating families. The extent of the careful planning reflects in part on Charlotte’s good organizational skills, but also on the Mayan preoccupation with everyone getting their fair share. This is important in a culture that is both communal and VERY poor; they even counted out how many nails each family would get: 25 three-inchers, and 50 roofing nails.
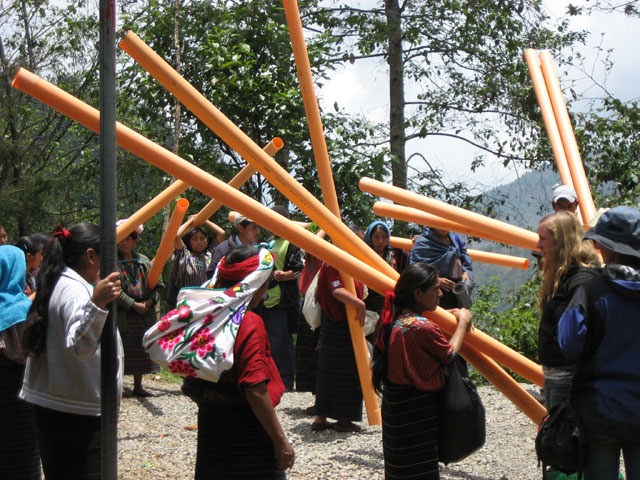
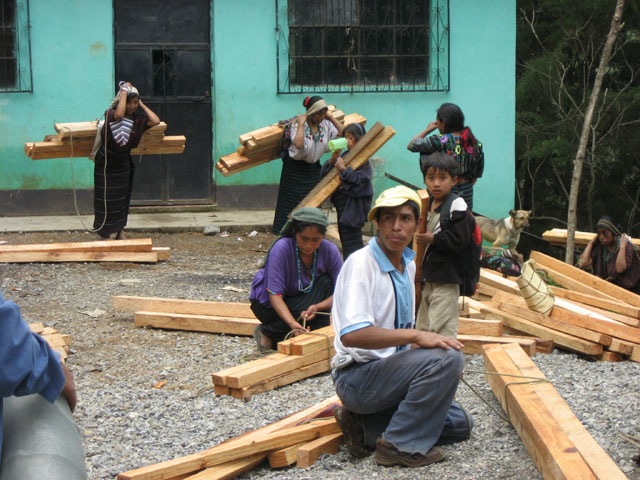
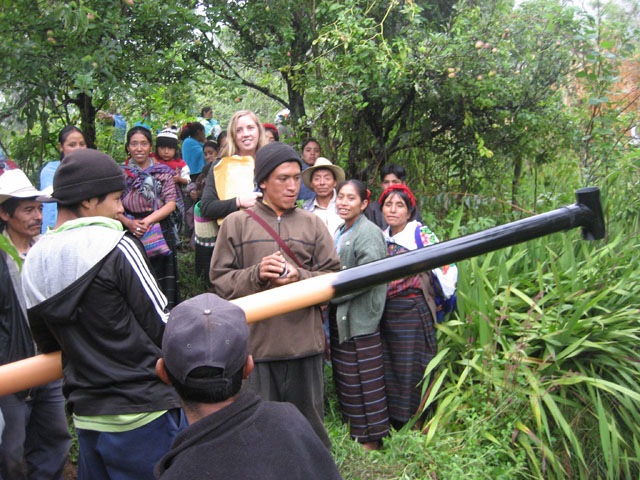
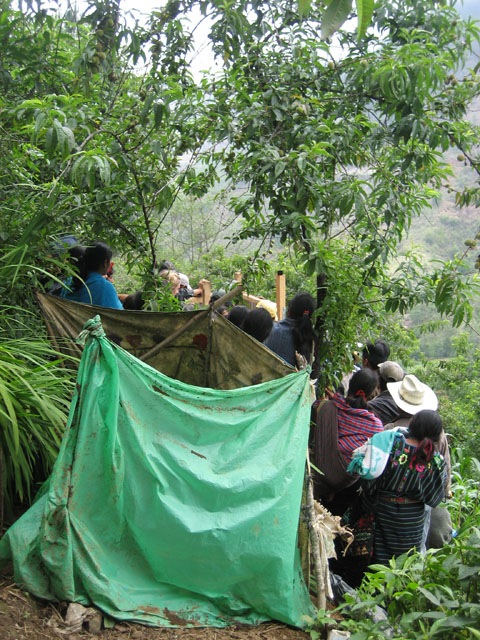
One of the most exciting challenges was getting the materials from the staging point in the schoolyard to the individual houses scattered across the mountainside. They do this the way they do everything else here: by mecapál. This is a headstrap that ties to a rope that goes around whatever you’re carrying. Across hill and dale, through mountainside cronfield, down steep ravines, until you come to the adobe hut perched precariously a thousand feet above the valley floor.
The construction went really well. Most rural families have great do-it-yourself skills, and I was able to stand out of the way most of the time. I am a hand-on guy and love to build things, so this is sometimes a challange for me. 🙂 In a way, our presence was largely ceremonial, an endorsement of the validity of the project; their presence was a sort of thank-you for helping connect them with the resources they need to make things in their village a little better. We built one latrine one each of the days we were there, and I am confident that they will have no trouble doing the rest of them themselves (which is really the point of the exercise, anyway). We’ll know for sure when Charlotte goes and does the evaluation sometime next month.
And now, much like last week, here is a play-by-play of how to build a sanitary latrine.
 |
 |
 |
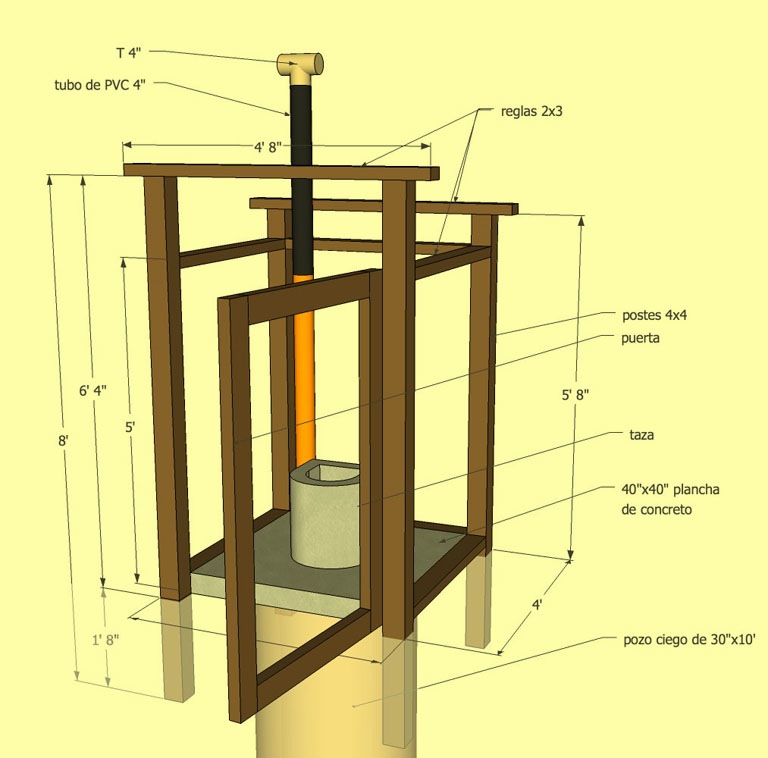
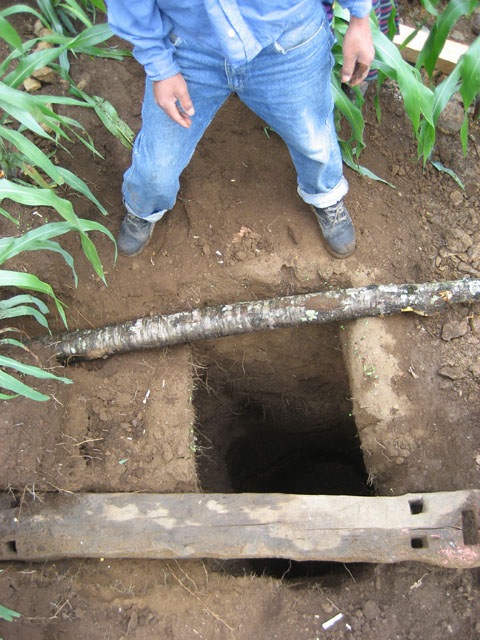
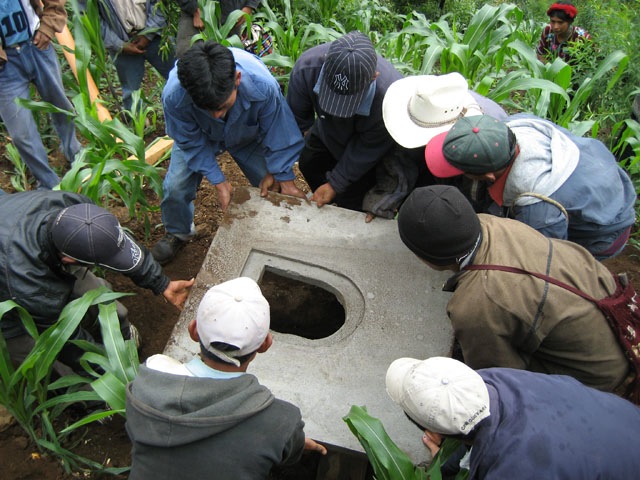
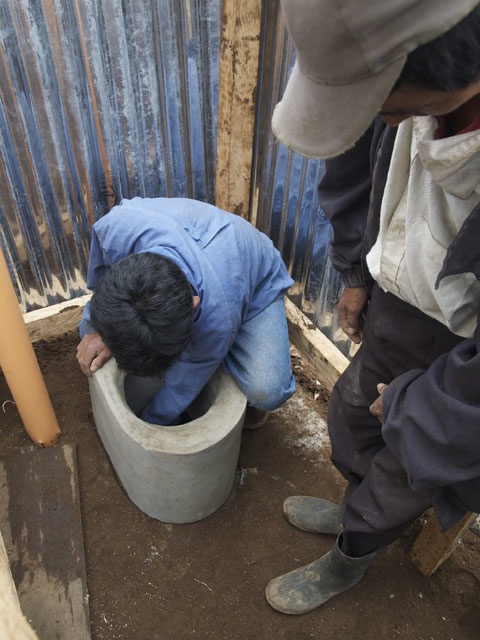
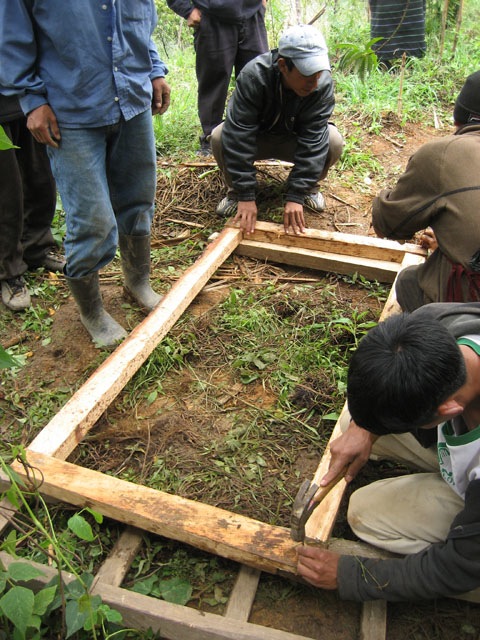
| Having been warned beforehand, the villagers had the pit dug before our arrival. This one is about 10 feet deep. The loose soil here is great for farming, but makes for crumbly pit walls and rim. Logs help distribute the weight of the slab away from the edges of the pit. | The concrete slabs that seal the pit were prefabricated in town. They weigh about 200 pounds, and are a fair bit of work to haul through the jungle. | Once the slab is in place and leveled, the next job is to plant the vertical wood posts of the outhouse. They go about 2 feet into the ground, so the outhouse is resistant to being blown away but can be moved in the future. |
 |
 |
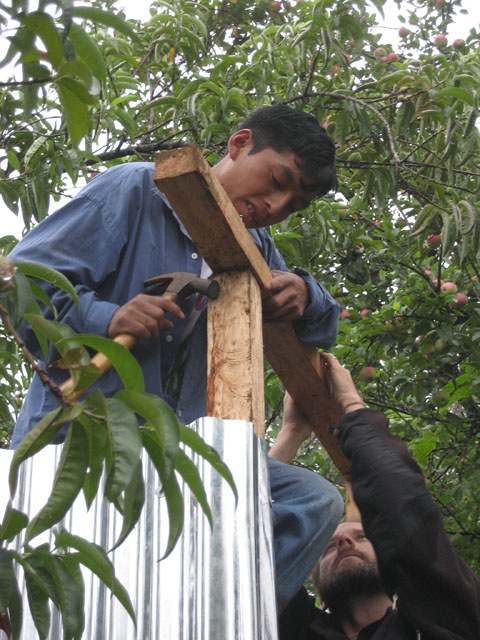 |
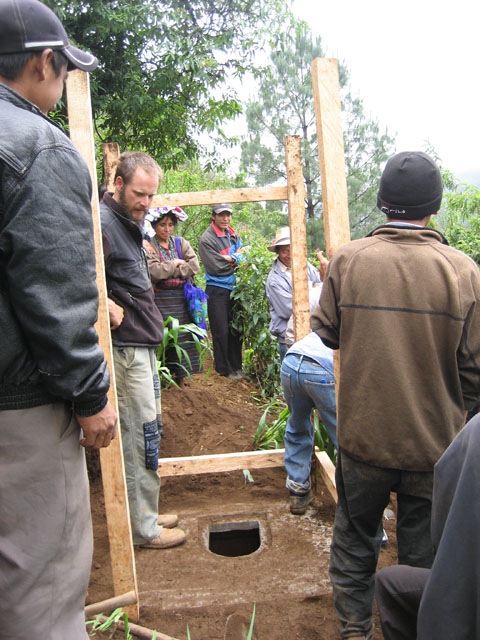
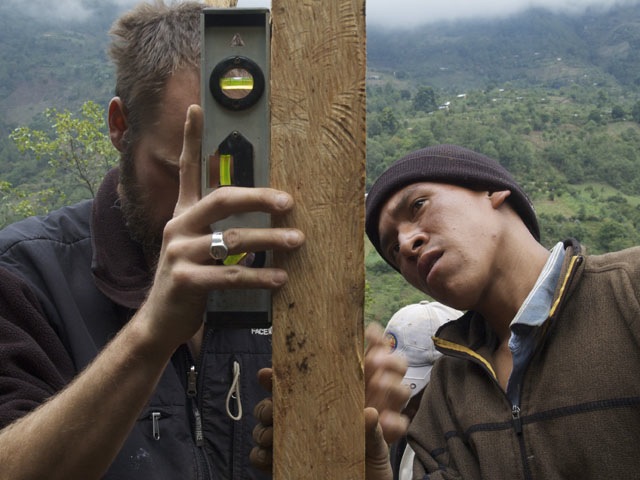
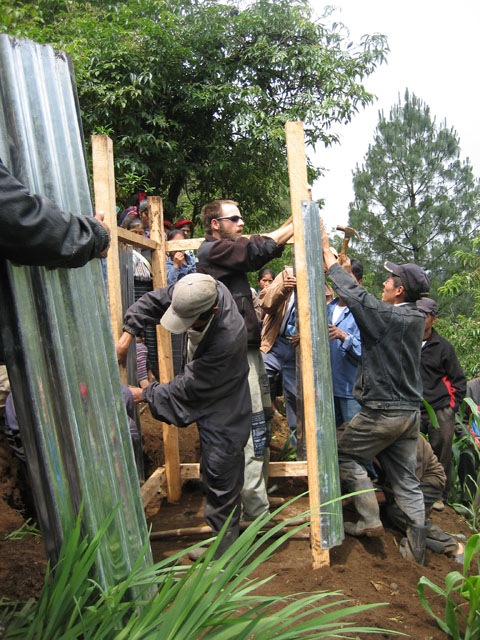
| Getting the posts plumb (vertical) makes it all fit together better, and is easily done with a level. | Once we get the 2x4s around the top and bottom of the walls, we can attach the corrugated steel siding. | 2×4 beams at the front and back are nailed into the vertical posts, to support the roof. |
 |
 |
 |
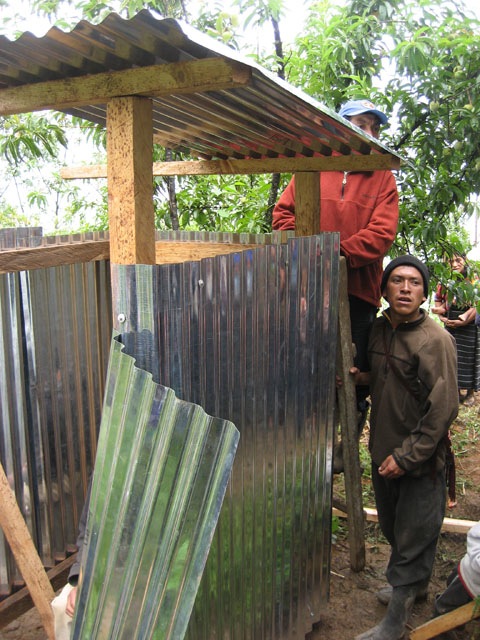
| The same steel is used for the roof. A string with a weight is hung above the vent hole in the slab, to locate the hole for the vent in the roof. It’s then cut out with sheet metal shears. | The vent pipe is painted black, so it heats up in the sun and starts a convective current that draws air and odors up and out of the latrine while drawing in fresh air through the seat. Bug screen at the top prevents flies from getting in, and the T keeps rainwater out. | Once everything is in place, the concrete taza (seat) is set in place. It’s actually quite comfortable once you’re used to it, and WAY better then the typical muddy board with a hole cut in it. I built a lid of scrapwood while we were waiting, an important mechanism for keeping flies OUT. |
 |
 |
 |
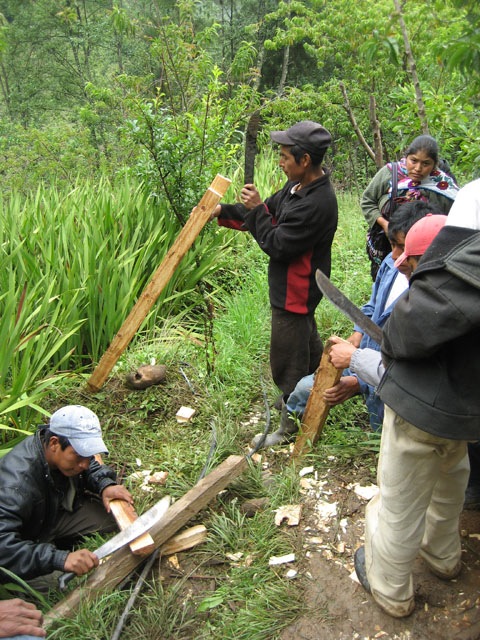
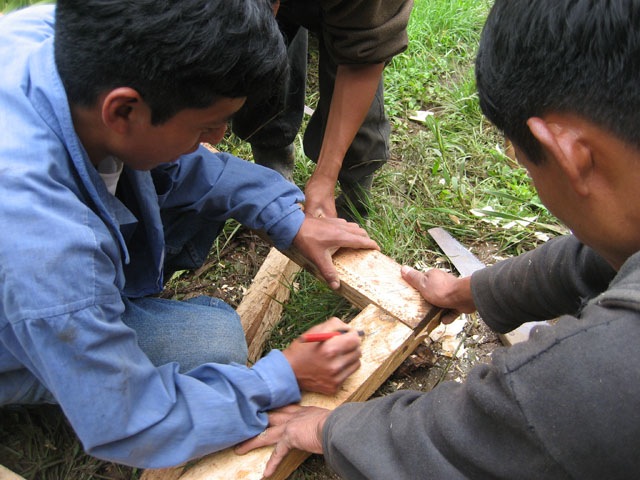
| No Guatemalan project is complete without a little machete work. Here they are doing the fine joinery for the corners of the door. | The final joints, testing for fit. I was very proud of them; I was planning to do the joints a different way, and they suggested this stronger, easier to fabricate option. “Go with it!” I told them. | The corner joints are nailed together, then the door is covered with a sheet of corrugated steel. Besides giving privacy, the steel acts a bit as a shear panel to prevent wracking in the door frame. |
 |
 |
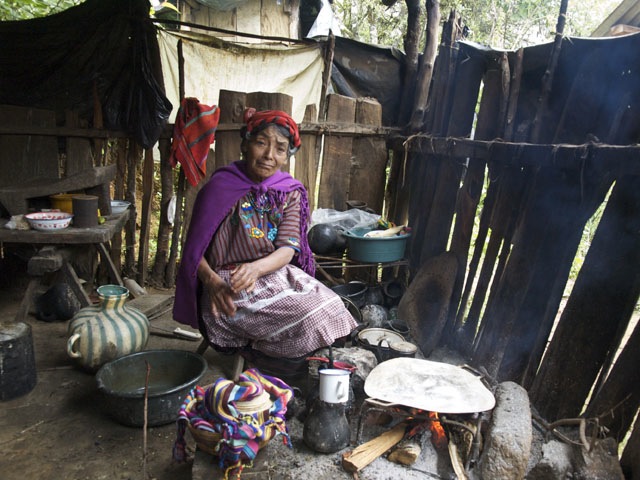 |
| The door is on and ready to go. They were still pretty intrigued about how spray paint works, and while we weren’t looking they tagged the inside of the door. | Here’s the old latrine, about ten yards away. By comparison, the new one is puro lujo (pure luxury). | While we were working, the grannie of the family receiving the latrine invited us into her kitchen to have some tortillas and thin coffee. I would think it was to say “thanks”, but it’s more that they’re just naturally hospitable people. |
And that was our latrine adventure. In the next few weeks, the village will continue to build the remaining units, and towards the end of the month Charlotte will return to the site to evaluate the final installations for conformance with the projects specifications, as well as give some additional training and answer any questions the villagers might have. And us? We’re off to the South, to attend a bunch of work-related conferences. More on that in coming posts.